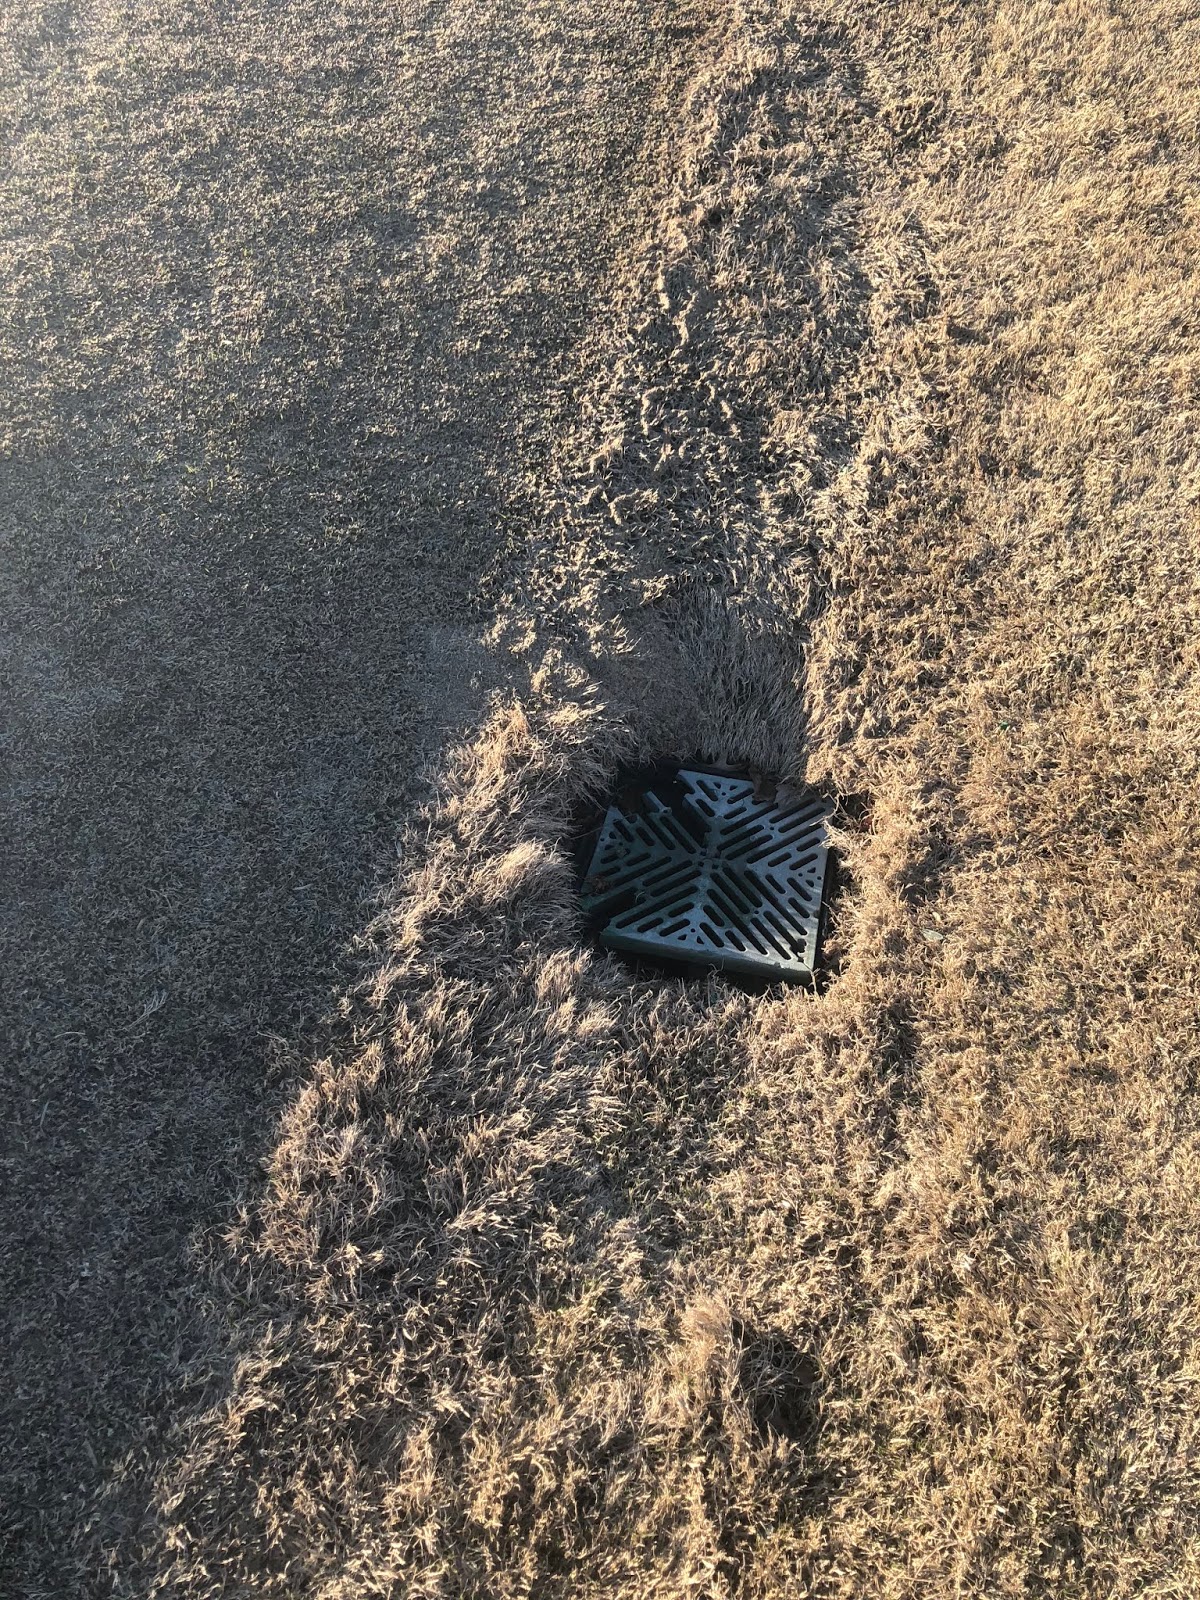
This is an example of one of the problem basins. This basin happens to be right next to #4 green. It is hard to tell in the picture but the surrounding area is washed out and depressed. Most of these drain basins are also made out of plastic, which work good on residential applications but should not be on a golf course. Over time these plastic basins have broken and caused the ground to settle around them.

Here is a look at the same basin with the plastic lid off
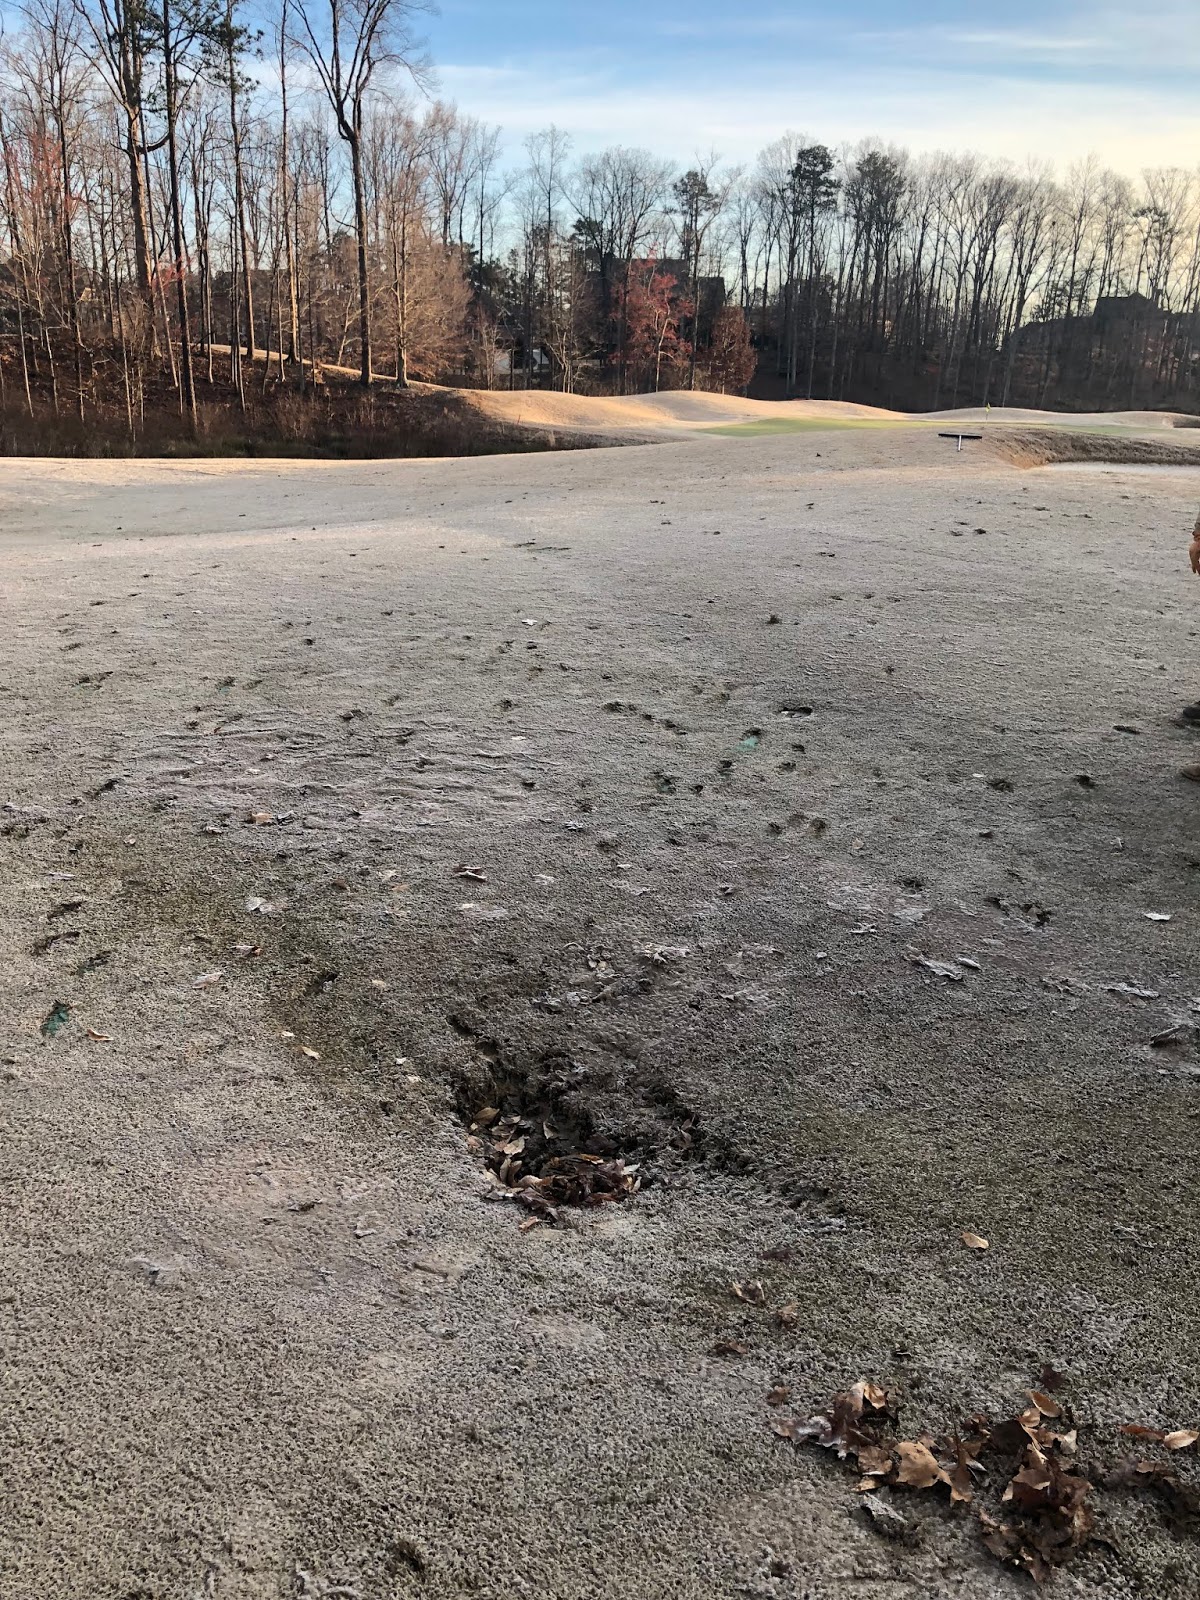
This is a picture of another basin which has settled on #1 Overlook fairway. Once again it is hard to see in the picture but it has washed out very badly.


This picture shows the same plastic drain in the first picture near #4 green, but in the process of being repaired. We first sod cut the grass around the drain to remove the turf. Then we dig down and add a 10 inch corrugated pipe like you see sticking out of the ground above. This pipe is fastened to the "trunk line" which carries all the water which falls in the basin away.

After the 10 inch pipe is installed, we will back fill the pipe and surrounding area with good dry dirt. This dry dirt is important because it packs very well and helps to shape the basin area. It is ideal to have a gradual fall the drainage basin. The guys above are using a vibratory tamp to pack the dirt around the basin to ensure it does not wash out again.

This is a picture of the work on #1 Overlook fairway. The staff is using a different kind of tamp this time which jumps up and down, packing the dirt around the new basin pipe to ensure no washing out. This basin had a very large area that had washed out below the surface of the drain basin, which required a good amount of new soil and tamping.

Here is a look at the finished basin on #1. Once the sod grows in this Spring it will be hard to tell anything every happened, and the drain should work much better. We also installed metal drain lids on top of all the new basins. These metal lids will last much longer and also will not wash away during a heavy downpour! These small touches around the golf course will help make a big improvement!
No comments:
Post a Comment