
Sunday, September 2, 2018
Fall Greens Aerification
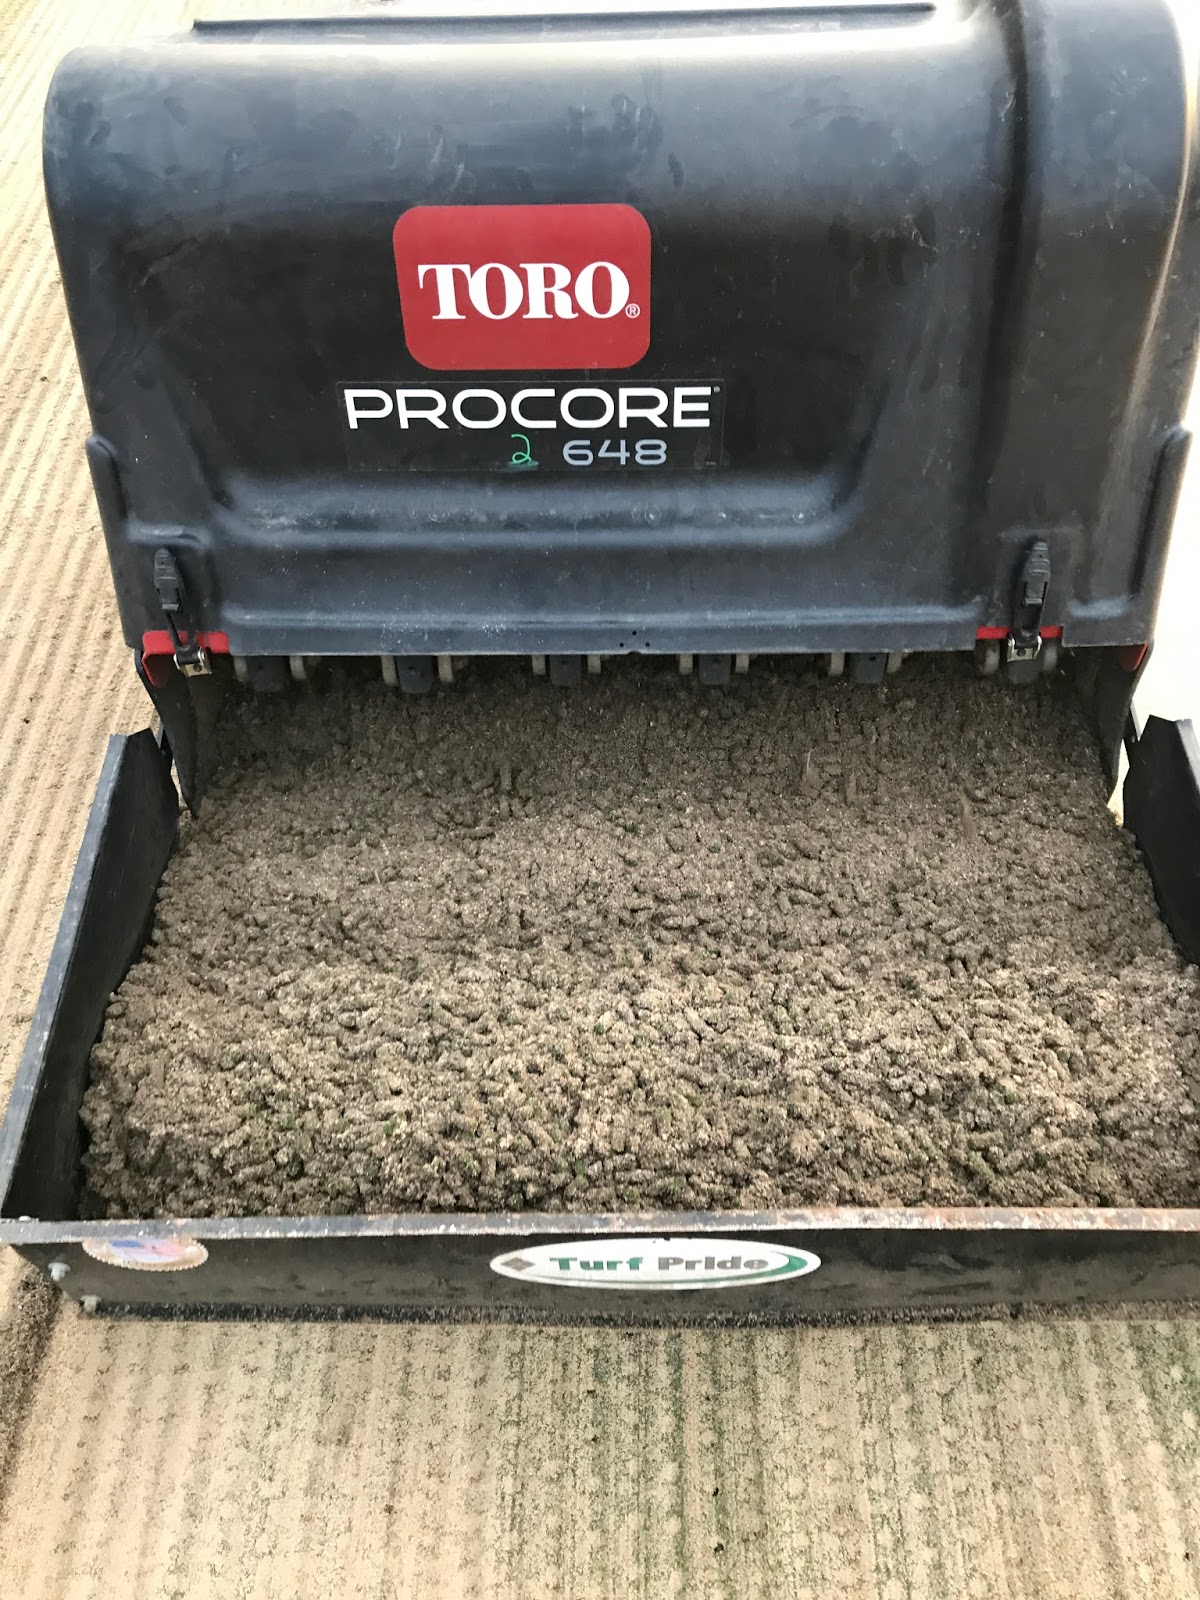
The Fall Greens Aerification is Tuesday, September 4th. This will be the large holes and heavy sand. Typically this process takes 3 to 4 weeks to fully recover. We know this is a very unpopular time for the avid golfer, but it is very important for the roots and overall health of the putting greens!!

Fall Armyworms!!!!
Over the last week we have noticed a large hatch of Armyworms!!! How do we know we have an outbreak of Armyworms? Because they are eating the grass! Take a look at the picture below and you can see where the left side of the grass is brown, while the other half is green.

The brown grass on the left is infected with Armyworms, and they are literally "marching" their way across the green grass by eating all the green stuff they can see!! This picture is of #7 Overlook, but we discovered Armyworms all across both golf courses.
Take a look at the next picture to see how we identify where the worms are:

A "soapy flush" is used to push all the worms and insects to the top of the turf canopy. Once we see signs in the turf that we may have an insect problem, we will do soapy flushes across the golf course to identify what areas we need to treat.

If you look closely in the picture you can see 5 or 6 Armyworms. This is what we look for after a soapy flush. Once we saw all the worms in one small area, we confirmed we had a problem. The good news is a light insecticide application will kill them on contact, and the grass will make a full recovery in a few weeks! If you see your yard at home looking unusually brown or lacking color, do a soapy flush and see if you have Armyworms!!!
Thursday, June 28, 2018
Tennis Clay Courts
Monday, June 25th was a great day to renovate our tennis courts! The Club hired a contractor to install 40,000 pounds of new clay to court #1, and then use a laser level to completely re-build and re-grade the court. This new clay will allow for an overall better playing surface, and has to be done every 5-8 years as a maintenance practice. The crew also took the opportunity to add 10,000 pounds of new clay to courts #5 and #6. New lines were installed after the clay was added and leveled on all the courts. We hope that you will find the new surfaces enjoyable and help improve your game!
Please take a minute to look at the videos and pictures of the entire process!!!!!
This video shows the Clay being dumped onto the court for the tractor to push into place.
This video shows the tractor dragging the Clay across the court to "grade" it, or make it level. This tractor has a Laser controlling the amount of Clay spread across the court. The goal is to get the Clay as level and flat as possible, but still slightly sloped so the water drains when it rains.
This video shows one person installing Clay on courts #5 and #6, while the other person is dragging it around smoothly with a cart. Since we put less Clay on these courts, the tractor was not needed. Approximately a quarter inch of new Clay was installed on these courts to help freshen them up.
This video show them rolling the lines to flatten them into the new Clay profile. This will help to ensure the lines are flat and secure to the ground. The lines are rolled 5 or 6 times before the court is ready for play.

This shows the truck of Clay as it arrived. Each large white bag holds 2,500 pounds of Clay!

More New Clay

These bags of Clay have been distributed across the green to patch any low spots and areas around the base line that require a little more Clay.

More patching low spots before applying the layer of Clay across the entire court.

Large pile of Clay that was just dumped onto court #1 to be spread out level.

Bag of Clay being placed before cutting the bottom of the bag.

Bag once it is cut

Tractor with Laser level on the box blade getting ready to push pile of Clay smooth.

Laying out the new lines. This is a string line pulled first, then the lines will be nailed in over the top of the string line. This helps to be straight and accurate

New line installed along one side of court #5

This photo shows the lines behind nailed into the Clay. Notice the large white roll, it is the line material that is rolled out as they install. The nails are placed every few inches to keep the lines attached and smooth to the ground.

A lot of time consuming labor to install the lines. Hundreds of nails to drive in!!!

This court is all finished, all that remains is the net to be installed and it will be ready for play!!!!
Sunday, June 10, 2018
Bailing Hay!
After totaling over 5 inches of rain over the past 2 weeks, the bermuda grass is really growing! This week our staff set out to "catch-up" on mowing all the grass around the entire golf course. The wet conditions made it impossible to mow last week, so this week we had to mow everything twice!


 Even the fairways have been growing very rapidly, but this has helped heal some of the thin areas left by the tough winter. After mowing two times last week we have caught up and the cut is beginning to look very nice!

This is after the first time we mowed on Monday morning! A lot of grass clippings to clean up!

Here is our Grounds Chairman Mark Kenline trying to walk over a pile of grass clippings! The rain caused the grass to grow so much we had to blow the waste into piles and remove!

Thursday, April 19, 2018
New Forward Tee on #7 Overlook!
Last week we finally got around to removing the last remaining "old style" bunker from #7 Overlook. This first bunker was on the right immediately after you cross the bridge while playing the hole. This bunker creates a funnel for carts creating a path between the bridge and the bunker, and is always a hard area to keep grass alive. When doing the bunker renovation this winter we did not touch this bunker, with full intention that our crew would fill it in this spring and create a much better cart entry. As you can see in the picture below, the bunker played very short for the hole and is only typically a hazard for high handicap golfers.


This photo was taken last November, 2017, before the Bunker Renovation started.

Our Staff on Monday started to cut sod around the bunker to try and save what we could. Once all the grass was removed we flatted out a few areas and filled in the bunker with soil. After a lot of tracking and compacting the soil down smooth, it was time to sod the area .
After we finished filling in the old bunker, it was time to build a new forward tee! We took the advantage of a dry week and really got a lot accomplished! The pictures below show the development of the new tee surface!


You can see in this picture versus the top picture of this post that we made some changes for sure!
Tuesday, March 20, 2018
Bunkers holding up to heavy rain storm as advertised!
Last night we got our first really strong thunderstorm of the year, an inch of rain which fell over the course of about an hour! This rush of water made quite the mess around the golf course, but one place that was a pleasant surprise....the new bunkers! While in the old days it would have taken our whole crew the better part of 2 days just to fix the bunkers, the new bunkers performed flawlessly for the most part, and hardly washed out at all. Some normal raking this morning was all it took to smooth out and prepare the bunkers for daily play. Take a look at the pictures below to show you the results we found this morning between two different bunkers on #7 Overlook.


Here is a picture of the old bunker we left on #7 Overlook. You can see how badly it washed out and held water last night during the rain. Last year all 65 bunkers would look similar to this after a heavy downpour, requiring hours of manual labor to push the sand back up!
Why did we leave this bunker and renovate all the others? Because we are planning to fill it in a build a new forward tee next to where it is located. We will do this in a few weeks once the grass greens up!

Here is a picture of the bunker right next to the old bunker in the previous picture. You can see the sand washing on the top side, but very minimal compared to what the old bunker looked like. The new capillary concrete bunker liner helps to drain water very quickly, preventing the washouts as these pictures have illustrated. This will save us a lot of money in labor over the years since we will no longer have to push all the sand back up!
Sunday, March 18, 2018
Bunker Project Completely Finished!

I am glad to announce the Bunker Renovation is completely finished! It took a little over 16 weeks, battling 2 snow storms and over 10 inches of rain during the project. All in all the finished product looks very nice, and once the grass starts to grow this summer it will fill in and look like it has been that way forever! The construction company, Pristine Golf, did a great job staying on task while trying to keep the damage to a minimum.
While there was definitely damage incurred during the project, our staff will now start to repair and clean up disturbed areas. We will start with the "in play" areas, then work our way out to the perimeter of the course. Concrete repairs will also take place over the next few weeks to help repair and improve our broken cart path panels across the golf course.
Saturday, March 10, 2018
Aerification was a success!
This Monday we carried out our Spring aerification process, and everything went smooth! This year we punched 1/2 inch sized holes and removed plugs of organic matter across all 27 holes. One thing different this year was the fact that we topdressed the greens with sand first, before punching holes. By topdressing first we were able to significantly reduce the tracks left by the topdressing machine. In the past we would topdress immediately after removing the plugs, and the greens were very soft and impressionable. The heavy topdressing machine would leave tire marks visible for up to 3 months at times, as well as effecting the putting quality. It appears our new method of topdressing first worked very well, and actually allowed us to move more rapidly than ever before. We completed 25 greens, or a little over 4 acres of putting green surface in 1 day! Congratulations to our whole staff for a job well done!


After punching holes, we drag the greens with a brush. This brush helps to incorporate the sand into the holes to ensure they are all filled up and smoothed out. We will then come behind the brush with a roller to roll the green smooth.
 Here is a picture of the Topdressing machine, applying an even layer of sand before we punch holes.

Here is a picture of the first green of the morning! You can see the sand already on the green as the machine works along.

Here is a good view of the "core collector" attached to the back of the aerifier. This tool helps to drag all the plugs to the side of the greens to be picked up and removed.
Core Collector filling up with plugs! You can see in the bottom of the picture all the holes we punched in the greens. These holes will soon be filled with new healthy roots for the grass plants!

#9 Green as we start to aerify. The crew stands on each side to shovel plugs up into the utility vehicles. We will dump these plugs in some cool season areas to grow, as the grass in the plugs is still very alive and healthy.

After punching holes, we drag the greens with a brush. This brush helps to incorporate the sand into the holes to ensure they are all filled up and smoothed out. We will then come behind the brush with a roller to roll the green smooth.

Saturday, March 3, 2018
Shaping the final bunker!

Friday marked the time when we started work to renovate the last bunker on the golf course. The lucky hole happened to be #12, and since it only had one small bunker it was all completed in one day. Attached at the top is a video of the Shaper building the face of the bunker. As you watch the video you will see the machine dump dirt along the top edge, and then smash it down to compact it. He will then use the bucket to shape out the face of the bunker, which will soon be sodded to bermudagrass. When this video was taken he had already roughly shaped the right side of the bunker, and you can see it in the background of the video. It is pretty impressive how well the operator can work the machine!
Sunday, February 25, 2018
What is wrong with #11 Fairway Bunkers?
I had a Member ask me the other day what in the world we are doing to #11! That is a very good question, but one that can easily be answered with pictures!

Here is a photo in front of the second set of fairway bunkers on #11. This is from two weeks ago, and is a good example of our existing style of bunkers.

This picture shows why the Member was confused as to what is going on! There is a bunch of dirt and old material dumped into the bunkers, creating quite a mess. This is all for a good reason!

Here is a better look at the bunkers full of material. This will be used to change the bunker in the foreground into fairway surface, while the bunker in distance will be re=0-zx
Sunday, February 4, 2018
Capillary Concrete working out very well!

This is a look at the finished bunker liner, right before the sand is installed on top!!!

This picture shows the depth of material installed. It is approximately 3 inches deep, and is completely solid once dried and cured. Because of the large air pockets between the gravel in the concrete, water flows freely through into the drain pipes. During heavy rains it helps to prevent the sand from all washing out in the bunkers!

Some of the crew trowels the surface smooth and solid, while the other half is dumping another load of Capillary Concrete to be spread out for the men to trowel.

This picture shows the drainage in the bottom of the bunkers in the distance, as well as the finished Capillary Concrete in the fore ground. The plywood is placed under the machines doing the work from damaging the bunker liner or the sod.
Bunker Project Moving Quickly!
We now have 9 holes completely finished, and are on the home stretch with the last 9 holes. Holes 4, 5, and 6 are now almost completely shaped and looking good. Next week we will begin to work on rebuilding the bunker on hole 12, while the rest of the crew installs the sod and bunker liner on holes 4, 5, and 6.


Here are the green side bunkers on hole 5 with the sand and liners removed, ready for shaping

Here is a look at the beginning of the new fairway bunker on hole 6. This bunker is located on the right side of the fairway, just past the left fairway bunkers. This bunker will play mainly as a target bunker, and was located primarily for the long ball hitters. As you can see in the picture, drainage is very important or it will hold water after each rain!
Tree Shade Update!
Now we have removed all the trees behind the Teaching Tee and the results are beginning to show!

The far end of the tee is now getting some really good morning sunshine, and we should start to see the health of the turf improve! The building will always block sunshine, but now that the trees are gone we should be able to improve the entire surface of the practice tee.

The far end of the tee is now getting some really good morning sunshine, and we should start to see the health of the turf improve! The building will always block sunshine, but now that the trees are gone we should be able to improve the entire surface of the practice tee.
Tuesday, January 16, 2018
Teaching Tee Shade Project
This winter one of our projects is to remove shade from important turf areas. One of the areas we struggle with the most is the teaching tee on the far end of the driving range. You can see in these pictures what it looked like before we started the project.


The sun comes up behind these trees each morning. It takes until noon each day for the tee box around the building to get any full sunshine.

These large pine trees have grown so tall they block the sunlight for over half the day. To help increase the sunlight we will take out a section of these trees to allow the sun to directly hit the entire teaching tee.
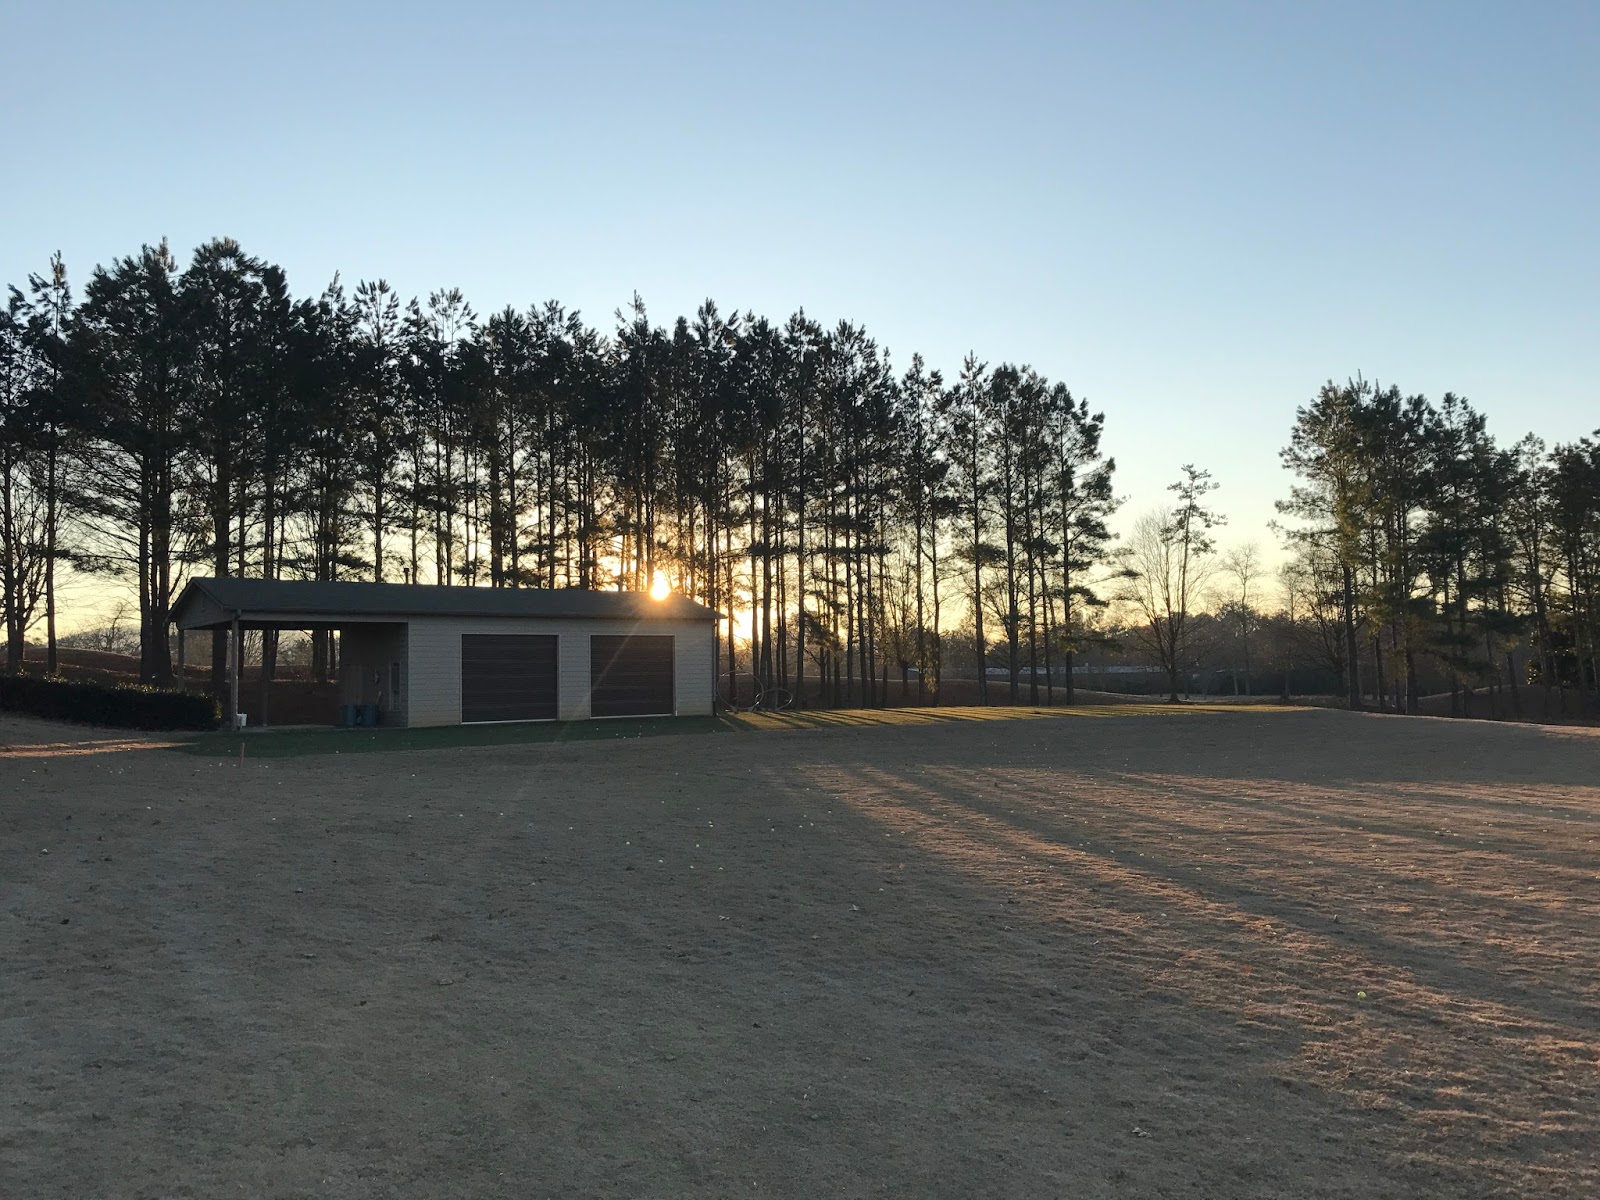
Here is a look at the start of the project and the instant impact it has shown. You can see the gap in the trees were we have removed a few pines. This gap is allowing direct sunlight to reach the corner of the teaching tee. Our plan is to continue removing trees as we work towards the teaching building. Once a few more trees are removed the tee will get direct sunlight and we should see the overall health greatly improve!
Subscribe to:
Comments (Atom)