Sunday, March 18, 2018
Bunker Project Completely Finished!
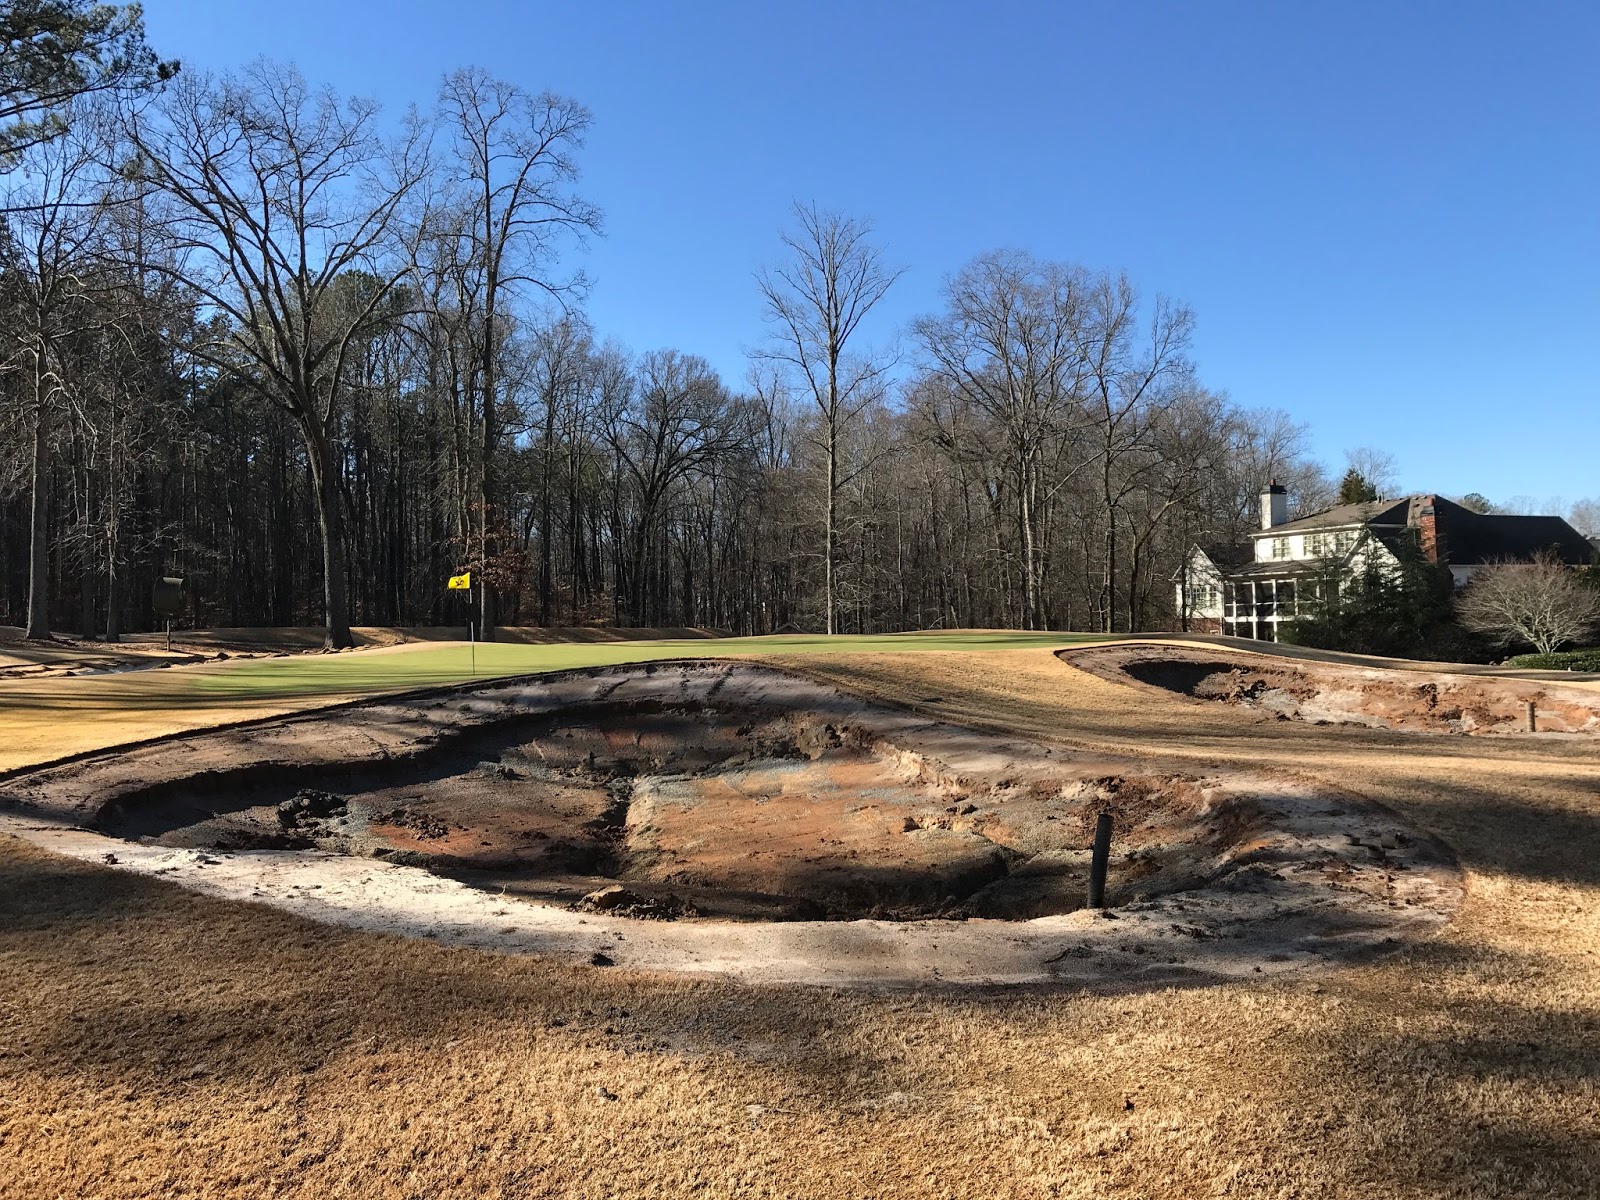
I am glad to announce the Bunker Renovation is completely finished! It took a little over 16 weeks, battling 2 snow storms and over 10 inches of rain during the project. All in all the finished product looks very nice, and once the grass starts to grow this summer it will fill in and look like it has been that way forever! The construction company, Pristine Golf, did a great job staying on task while trying to keep the damage to a minimum.
While there was definitely damage incurred during the project, our staff will now start to repair and clean up disturbed areas. We will start with the "in play" areas, then work our way out to the perimeter of the course. Concrete repairs will also take place over the next few weeks to help repair and improve our broken cart path panels across the golf course.
Saturday, March 10, 2018
Aerification was a success!
This Monday we carried out our Spring aerification process, and everything went smooth! This year we punched 1/2 inch sized holes and removed plugs of organic matter across all 27 holes. One thing different this year was the fact that we topdressed the greens with sand first, before punching holes. By topdressing first we were able to significantly reduce the tracks left by the topdressing machine. In the past we would topdress immediately after removing the plugs, and the greens were very soft and impressionable. The heavy topdressing machine would leave tire marks visible for up to 3 months at times, as well as effecting the putting quality. It appears our new method of topdressing first worked very well, and actually allowed us to move more rapidly than ever before. We completed 25 greens, or a little over 4 acres of putting green surface in 1 day! Congratulations to our whole staff for a job well done!

After punching holes, we drag the greens with a brush. This brush helps to incorporate the sand into the holes to ensure they are all filled up and smoothed out. We will then come behind the brush with a roller to roll the green smooth.
Here is a picture of the Topdressing machine, applying an even layer of sand before we punch holes.
Here is a picture of the first green of the morning! You can see the sand already on the green as the machine works along.
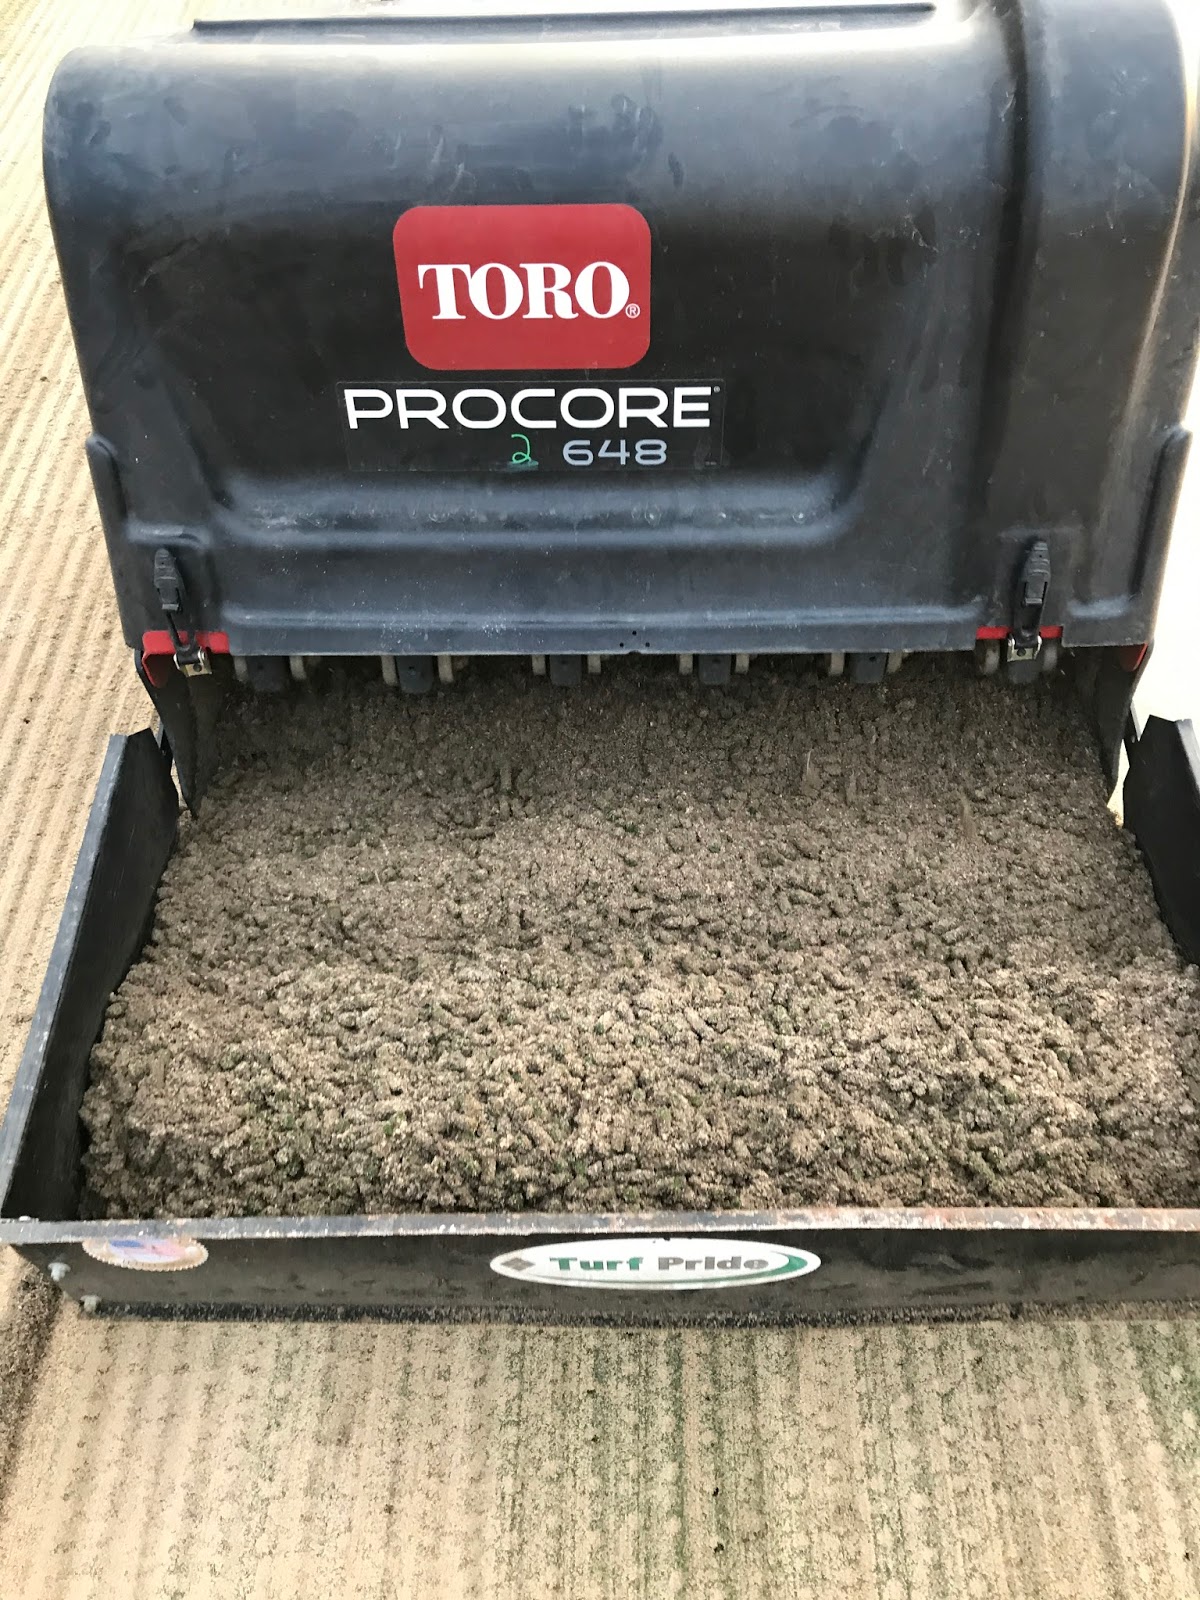
Here is a good view of the "core collector" attached to the back of the aerifier. This tool helps to drag all the plugs to the side of the greens to be picked up and removed.
Core Collector filling up with plugs! You can see in the bottom of the picture all the holes we punched in the greens. These holes will soon be filled with new healthy roots for the grass plants!
#9 Green as we start to aerify. The crew stands on each side to shovel plugs up into the utility vehicles. We will dump these plugs in some cool season areas to grow, as the grass in the plugs is still very alive and healthy.
After punching holes, we drag the greens with a brush. This brush helps to incorporate the sand into the holes to ensure they are all filled up and smoothed out. We will then come behind the brush with a roller to roll the green smooth.
Here is a picture of the Topdressing machine, applying an even layer of sand before we punch holes.
Saturday, March 3, 2018
Shaping the final bunker!
Friday marked the time when we started work to renovate the last bunker on the golf course. The lucky hole happened to be #12, and since it only had one small bunker it was all completed in one day. Attached at the top is a video of the Shaper building the face of the bunker. As you watch the video you will see the machine dump dirt along the top edge, and then smash it down to compact it. He will then use the bucket to shape out the face of the bunker, which will soon be sodded to bermudagrass. When this video was taken he had already roughly shaped the right side of the bunker, and you can see it in the background of the video. It is pretty impressive how well the operator can work the machine!
Sunday, February 25, 2018
What is wrong with #11 Fairway Bunkers?
I had a Member ask me the other day what in the world we are doing to #11! That is a very good question, but one that can easily be answered with pictures!

Here is a photo in front of the second set of fairway bunkers on #11. This is from two weeks ago, and is a good example of our existing style of bunkers.

This picture shows why the Member was confused as to what is going on! There is a bunch of dirt and old material dumped into the bunkers, creating quite a mess. This is all for a good reason!

Here is a better look at the bunkers full of material. This will be used to change the bunker in the foreground into fairway surface, while the bunker in distance will be re=0-zx
Here is a photo in front of the second set of fairway bunkers on #11. This is from two weeks ago, and is a good example of our existing style of bunkers.
This picture shows why the Member was confused as to what is going on! There is a bunch of dirt and old material dumped into the bunkers, creating quite a mess. This is all for a good reason!
Here is a better look at the bunkers full of material. This will be used to change the bunker in the foreground into fairway surface, while the bunker in distance will be re=0-zx
Sunday, February 4, 2018
Capillary Concrete working out very well!
This is a look at the finished bunker liner, right before the sand is installed on top!!!
This picture shows the depth of material installed. It is approximately 3 inches deep, and is completely solid once dried and cured. Because of the large air pockets between the gravel in the concrete, water flows freely through into the drain pipes. During heavy rains it helps to prevent the sand from all washing out in the bunkers!
Some of the crew trowels the surface smooth and solid, while the other half is dumping another load of Capillary Concrete to be spread out for the men to trowel.
This picture shows the drainage in the bottom of the bunkers in the distance, as well as the finished Capillary Concrete in the fore ground. The plywood is placed under the machines doing the work from damaging the bunker liner or the sod.
Bunker Project Moving Quickly!
We now have 9 holes completely finished, and are on the home stretch with the last 9 holes. Holes 4, 5, and 6 are now almost completely shaped and looking good. Next week we will begin to work on rebuilding the bunker on hole 12, while the rest of the crew installs the sod and bunker liner on holes 4, 5, and 6.
Here are the green side bunkers on hole 5 with the sand and liners removed, ready for shaping
Here is a look at the beginning of the new fairway bunker on hole 6. This bunker is located on the right side of the fairway, just past the left fairway bunkers. This bunker will play mainly as a target bunker, and was located primarily for the long ball hitters. As you can see in the picture, drainage is very important or it will hold water after each rain!
Tree Shade Update!
Now we have removed all the trees behind the Teaching Tee and the results are beginning to show!

The far end of the tee is now getting some really good morning sunshine, and we should start to see the health of the turf improve! The building will always block sunshine, but now that the trees are gone we should be able to improve the entire surface of the practice tee.
Subscribe to:
Posts (Atom)